To send email with Google, please follow the instructions provided here for 'Setting up OAuth 2.0'. You should choose 'Internal' for the User Type - you don't want the application accessible to the public. Provide the remaining information and click 'Save and Continue'. On the next page, use the 'Add or Remove Scopes' button to add the gmail.send scope under the Gmail API. Click 'Save and Continue' again and then 'Back to Dashboard'.
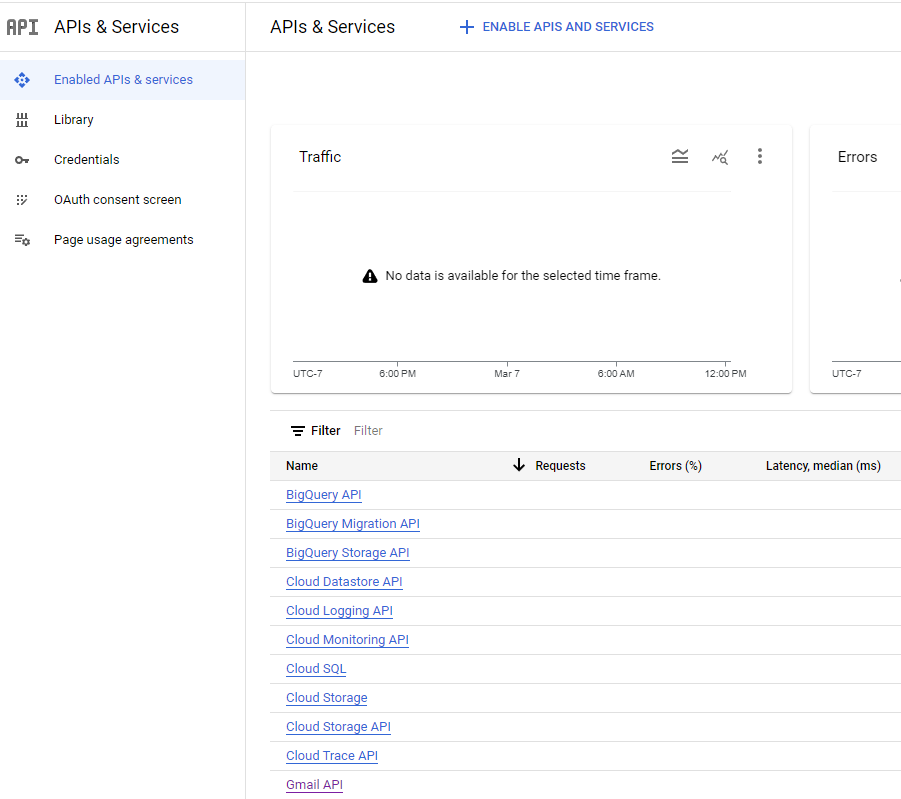
Next, you need to enable the Gmail API. In the Google Cloud admin console at console.cloud.google.com, select the 'Enabled APIs & services' link. The screen should look similar to this:
If Gmail API isn't listed, use the 'ENABLE APIS AND SERVICES' link to add it.
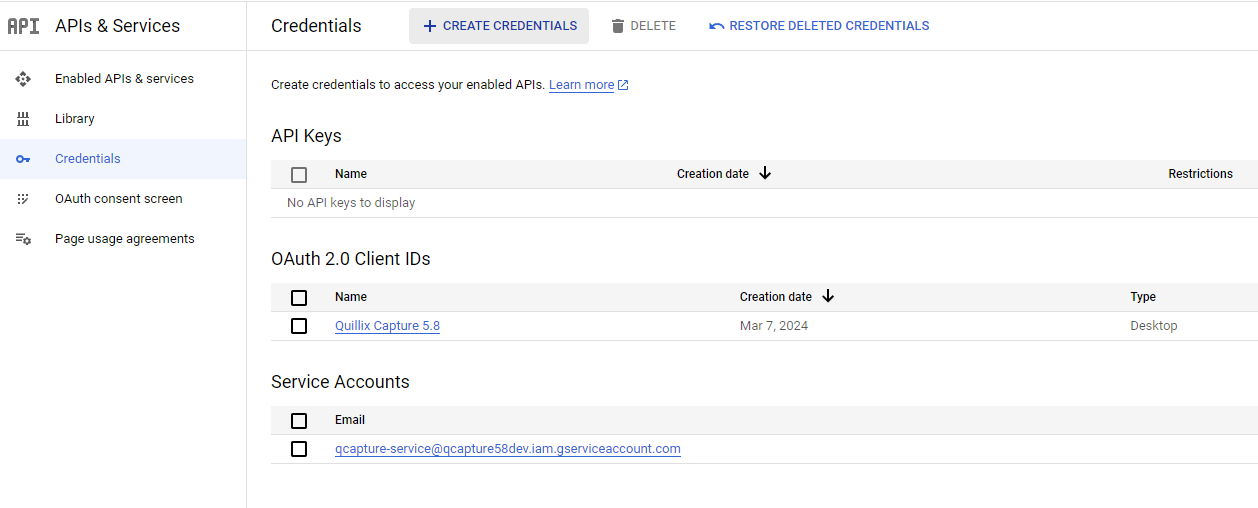
Finally, select the 'Credentials' link in the Google Cloud admin console. Use the 'CREATE CREDENTIALS' link to create an OAuth 2.0 Client ID.
 On creating the client, you will see a confirmation dialog similar to this one:
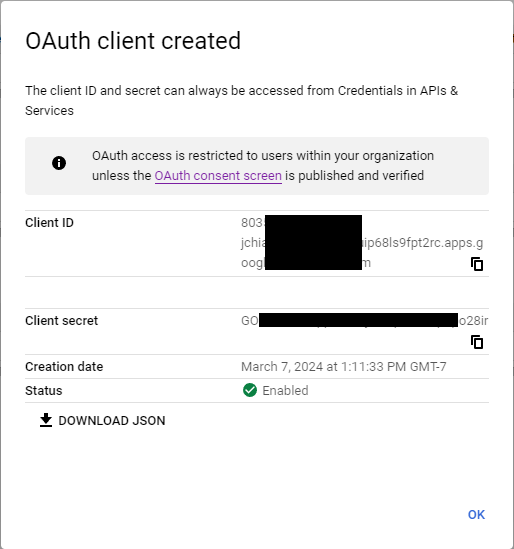
Copy and paste the 'Client ID' and 'Client secret' fields to the corresponding fields in Quillix Capture Email Configuration.
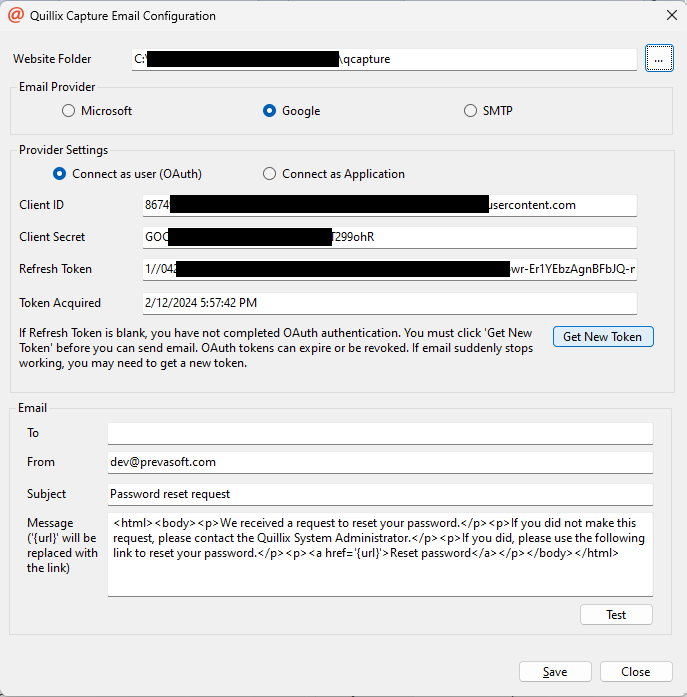
Now, click 'Get New Token' in Quillix Capture Email Configuration to acquire an OAuth token. This will launch a browser window and ask for your credentials. Upon login, the 'Refresh Token' and 'Token Acquired' fields in the config app will be updated. At this point, you should save changes and send a test message.