Quillix Content Manager requires a Volume and at least one Subvolume in order to store documents. A Volume contains one or more Subvolumes. The Volume provides a name to identify the collection of Subvolumes, and allows the disabling of writing to the entire Volume.
Volumes are managed through the QCM Control Center on the Volumes tab.
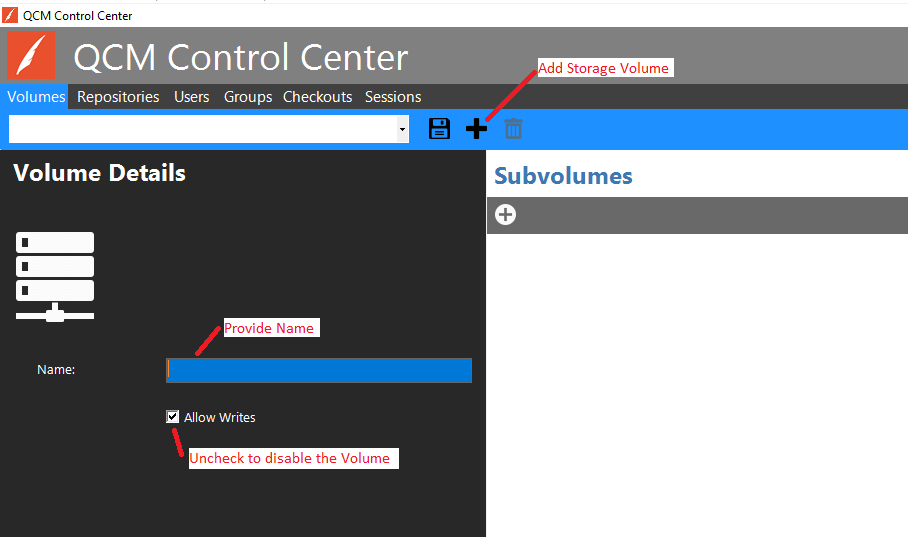
To add a new Volume, click on the Add Storage Volume button on the toolbar on the Volumes tab. Provide a name for the Volume and select whether or not to allow QCM to write to the Volume.
Figure 1 - Volumes Tab
To add a new Subvolume, click on the Add a new Subvolume button on the toolbar on the Volumes tab.
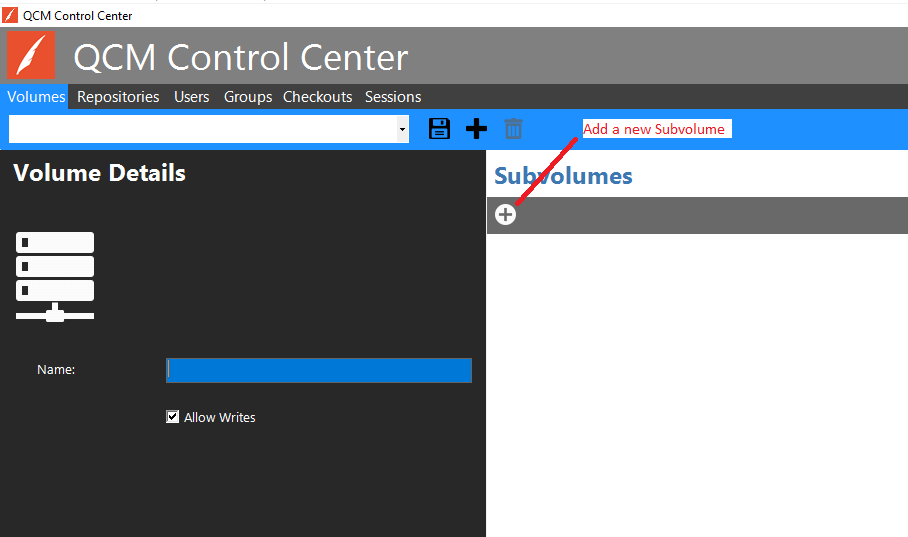
Figure 2 - Volumes Tab
This dialog will be displayed:
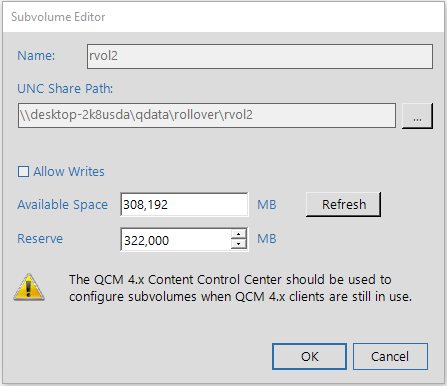
Provide a name and path for the Subvolume and select whether or not to allow QCM to write to the Subvolume. If you use the browse button ( ) to enter the path, the available space will be displayed. If you type the path into the field, you'll have to click the 'Refresh' button to show the available space. Once the available space is shown, you may enter a reserve size, if desired. The reserve size is an amount of storage to leave unused on the subvolume path. For example, in the screenshot shown, when the server attempts to write to this volume, it will see that the current available space is less than the reserve amount and mark the volume as non-writable (uncheck 'Allow Writes'). The server will then look at the next subvolume and write new files there. You may leave the reserve field at 0 if you don't want a reserve size.
Click the Save button on the Volumes toolbar to save the current settings.

Next Steps